
At Spray My House we understand that giving your uPVC conservatory a fresh coat of paint can completely transform your space. Whether your white conservatory is looking tired or you’ve simply decided on a new colour, spray painting offers a cost-effective renovation option.
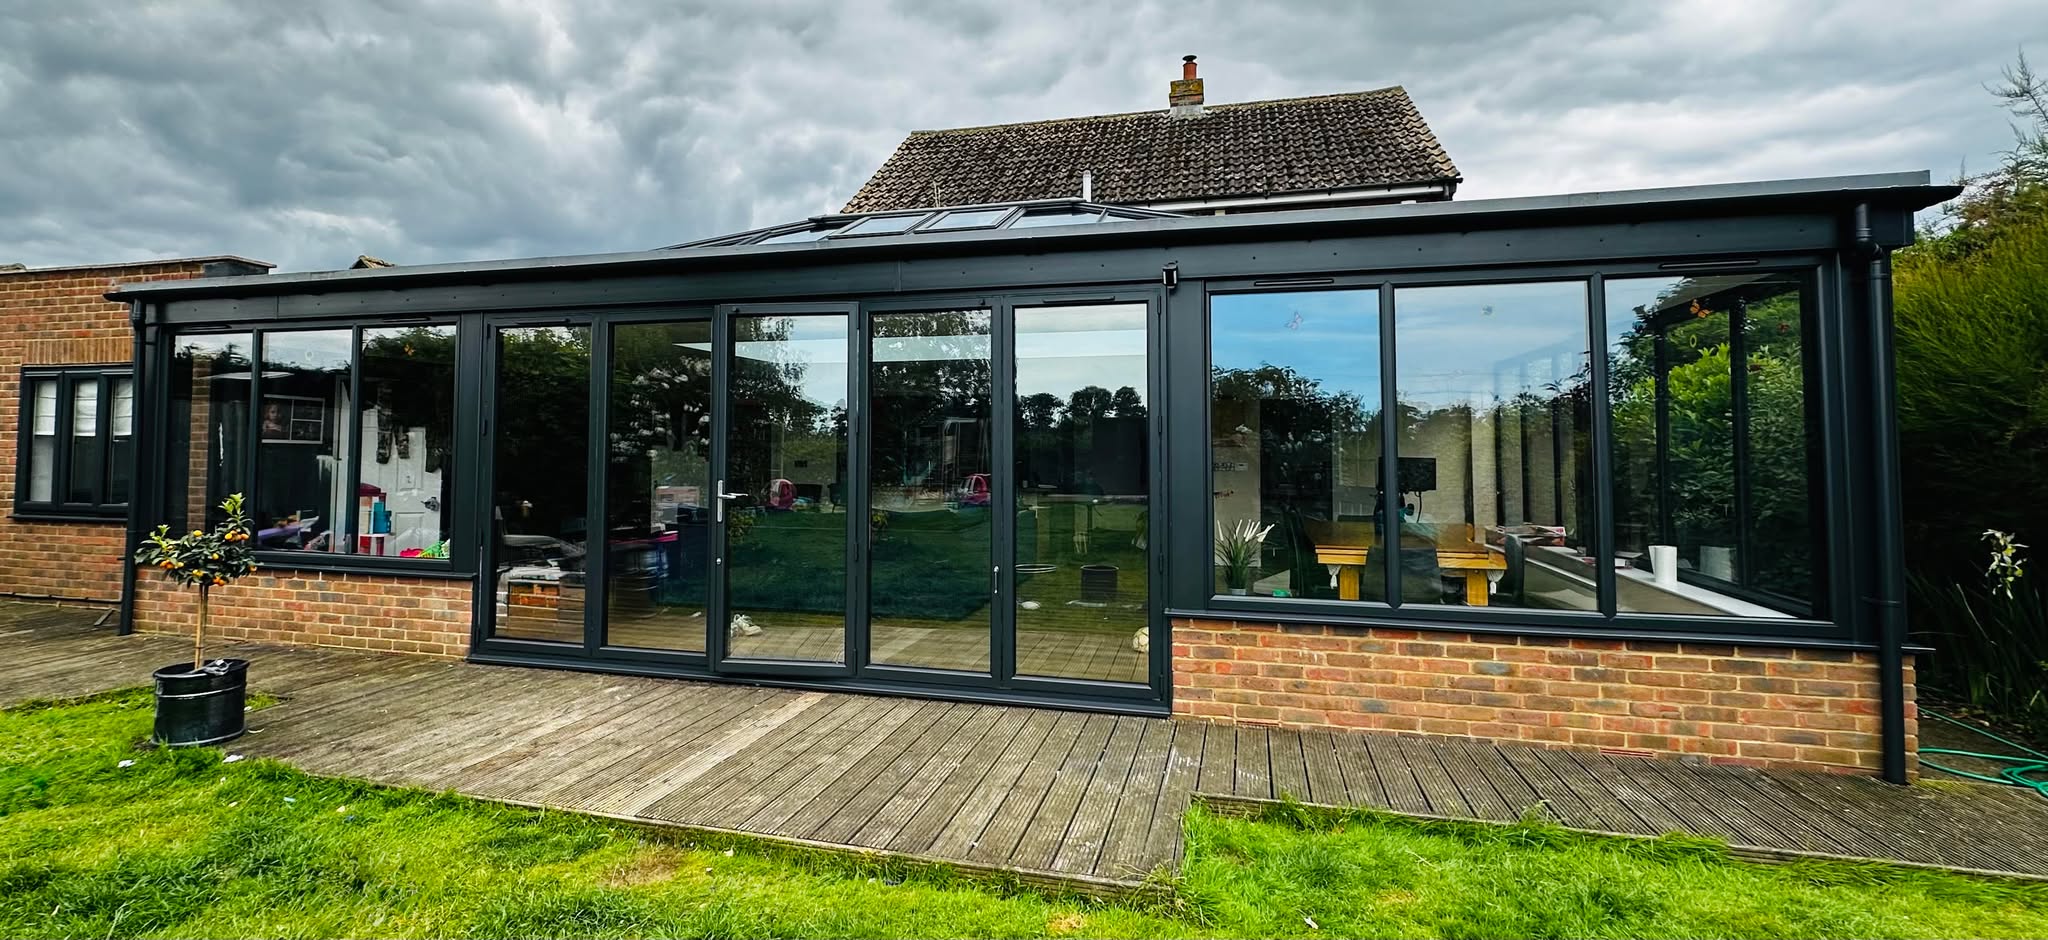
The Benefits of Spray Painting Your Conservatory in Kent
When a uPVC conservatory ages, the frames often become discoloured. The plastic surface may appear faded, especially with white conservatory structures that have been exposed to sunlight for years. Rather than replacing the entire structure, conservatory spraying Kent provides an affordable solution that extends the life of your conservatory.
Spray painting achieves a smooth finish that’s difficult to reach with a paint brush or roller. The spray technique allows for even coverage across all surfaces, including those hard-to-reach areas of all the frames that would be challenging with traditional painting methods.
Materials You’ll Need
To spray paint your conservatory properly, gather these essential supplies:
- Solvent 2 pack paint for uPVC
- Paint sprayer
- Masking tape
- Plastic sheeting for glass and furniture
- Fine-grit sandpaper
- Cleaning supplies (Solvent degreaser, micro fibre cloth)
- Silicone remover (for old silicone)
- Isopropyl alcohol
Step-by-Step Conservatory Spray Painting Kent Guide
1. Clean All Surfaces Thoroughly
The first and most important step is cleaning. Your uPVC conservatory frames must be completely free of dirt and grime before painting.
Start by cleaning all frames with solvent degreaser. For stubborn areas, use a targeted cleaner. Pay special attention to corners where dirt collects. Use a damp cloth to wipe down all surfaces after cleaning, then allow them to dry completely. Paint adheres poorly to dirty surfaces, potentially leading to a poor finish later.
2. Remove Old Silicone
Examine the silicone around your conservatory glass. Any old silicone that’s discoloured should be removed before painting.
Using a silicone removal tool, carefully cut away the old silicone. This task requires patience but is essential for good results. After removing the old silicone, clean the area to remove any residue.
You’ll need to apply new silicone after the painting process is complete, so factor this into your project timeline.
3. Prepare the Surface
Using fine-grit sandpaper, lightly sand all plastic surfaces that will be painted. The goal isn’t to remove material but to create a slightly rough surface that helps the primer and paint adhere better.
After sanding, wipe down all surfaces with a clean, damp cloth to remove dust particles. Follow with isopropyl alcohol to ensure the surface is completely clean and free from any oils or residues.
4. Mask Areas Not Being Painted
This step is crucial for achieving a professional finish. Use masking tape to cover the edges of glass, as well as any hardware that won’t be painted. Take your time with this step – careful masking will save significant clean-up work later.
Cover the floor and furniture with plastic sheeting to protect them from overspray. If your conservatory connects to your house, also mask the adjacent walls and windows to avoid accidental spray paint transfer.
5. Apply First Coat of Paint
Now for the main event – applying the colour coat. Set up your spray equipment according to guidelines, ensuring the paint is properly thinned if required.
Start from the roof of the conservatory and work downward, maintaining a consistent distance from the surface. Apply the paint in smooth, overlapping strokes to ensure even coverage.
Most conservatories require at least two coats of paint for optimal coverage. Allow the first coat to dry completely before applying the second. Depending on the paint and conditions, this could take 1 – 2 hours.
7. Apply the Final Coat
After the second coat has dried, assess whether a third coat is needed. For lighter colours or significant colour changes, a third coat might be necessary.
Apply the final coat using the same technique as before, paying attention to any areas that look thin or uneven. This final coat provides the finished appearance, so take time to ensure perfect application for a good finish.
8. Remove Masking and Finish Up
Once the final coat is dry, carefully remove all masking tape. Do this slowly and at an angle to prevent pulling off any paint.
If you removed old silicone earlier, now apply fresh silicone around the glass panels. Use quality exterior silicone sealant and apply it with steady, even pressure.
Maintaining Your Newly Painted Conservatory
To ensure your newly painted conservatory stays looking fresh, regular maintenance is key:
- Clean the frames regularly using mild soap and water, avoiding abrasive cleaners
- Address any chips or scratches promptly to prevent moisture getting under the paint
- Consider applying a protective coating every few years for additional protection against UV damage
Why Choose Spray My House for Your Conservatory Transformation?
While this guide provides a foundation for DIY conservatory spray painting, achieving a truly professional finish requires skills, experience, and proper equipment. At Spray My House, we specialise in transforming uPVC conservatories with our expert onsite conservatory spraying service.
Our professional team has the expertise to deliver flawless results, saving you time and potential frustration. We use only high-quality 2 pack solvent paints specifically formulated for uPVC windows and frames, ensuring longevity and durability.
With professional spray painting, your conservatory can look brand new for a fraction of the replacement cost. Our service includes thorough preparation, expert application, and complete clean-up, leaving you with a beautifully refreshed space.
Contact Spray My House today for a free quote and take the first step toward transforming your conservatory. Our guaranteed workmanship ensures peace of mind and results you’ll love for years to come.